JZD Wire & Cable Factory
More Than 20 Years Experience
More Than 20 Years Experience

 Author: Joey Wan
  June 19,2022
Anyone who has been in contact with solar power stations will find that photovoltaic cables are laid outdoors, and can withstand different climate changes, and can also operate for a long time, but they are intact for a long time. Yes, through the introduction of an old electrician, I found a manufacturer specializing in the production of photovoltaic lines to understand; we will discuss the production process and common key steps of photovoltaic cables.
As a first step, our goal is to obtain AWG (American Wire Gauge) compliant metal (usually copper or aluminum) photovoltaic wire. The method is to pull a copper or aluminum rod through a series of synthetic diamond dies of progressively decreasing size and place it on a drawing table. This is machining using a lubrication and cooling system that prolongs the life of the die and prevents overheating of the wire.
Step 2: Annealing
During the wire drawing process, we apply tremendous pressure to the metal rods to form thinner photovoltaic wires. As a result, the photovoltaic wire conductors we get are very brittle and can easily break if bent. The finished wire must be flexible, so in this step we will soften or anneal the wire.
Annealing is done by heating the photovoltaic wire copper wire to its recrystallization temperature for a period of time. The key here is to avoid oxidation of the photovoltaic wire conductors.
As mentioned above, multiple copper wires in a photovoltaic wire are often twisted. This is because under the same cross-sectional area, the stranded wire has better flexibility and electrical properties than the single-strand photovoltaic cable.
In this step, two or more copper wires of the same gauge photovoltaic wire are twisted or twisted together using a proprietary formula to determine the twist length.
Step 4: Squeeze
The photovoltaic cable, now soft and elastic, is passed through an extruder, which is coated with plastic or other insulating material. Pour the material into the back of the extruder and push forward while heating to the melt. After leaving the extruder, the tinned copper photovoltaic wire passes through another cooling system and is coiled on a reel.
The basic components of the PV line are now ready. Next we need to assemble photovoltaic wires according to different uses. This process is done in the wiring station.
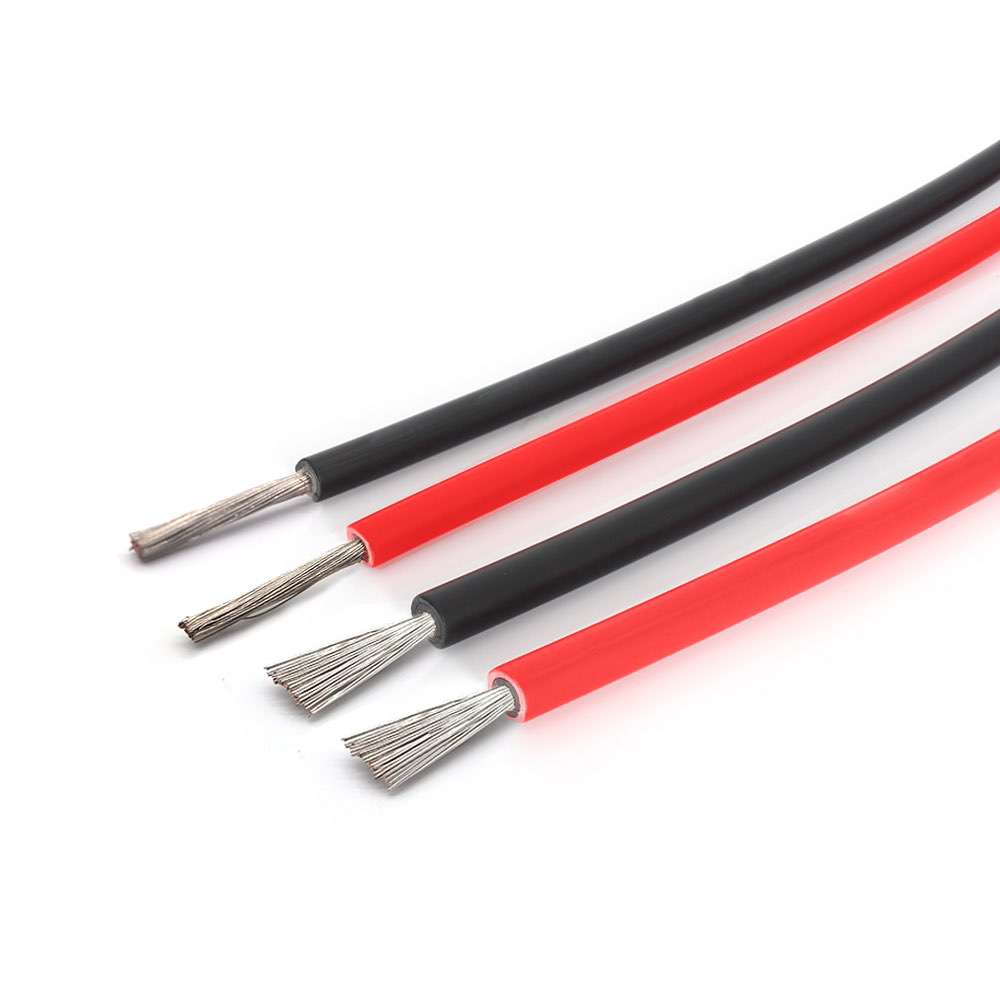
For daily use of solar photovoltaic lines , only one or more strands of photovoltaic lines, and if necessary, photovoltaic insulation and sheathing, are irradiated. In order to have a better formability, we often use high-quality materials to ensure that the shape of the finished photovoltaic wire is round.
Well, the above is about the introduction of " the production process and key steps of photovoltaic cable ", I hope it can help everyone! It is recommended to continue to pay attention to JZD Cable to learn more about wire and cable information.